Getting started in eCommerce can be tricky. Even with all the wonderful eCommerce software like Shopify and WooCommerce, it still takes hours of setup even if you’re tech-savvy. What if you just want to start selling online without all the hassle?
Thankfully, PayPal has a very user-friendly option for entrepreneurs with a single product to sell. The idea is simple: you set up a PayPal Business Account and then you add PayPal Buy buttons to your website.
Seriously, that’s it! The configuration couldn’t be simpler and it’s a great stopgap to use before your business is large enough to justify setting up something more permanent, like a Shopify store.
So without any more preamble, let’s talk about how you can add PayPal Buy buttons to your website.
1. Create a PayPal Business account.
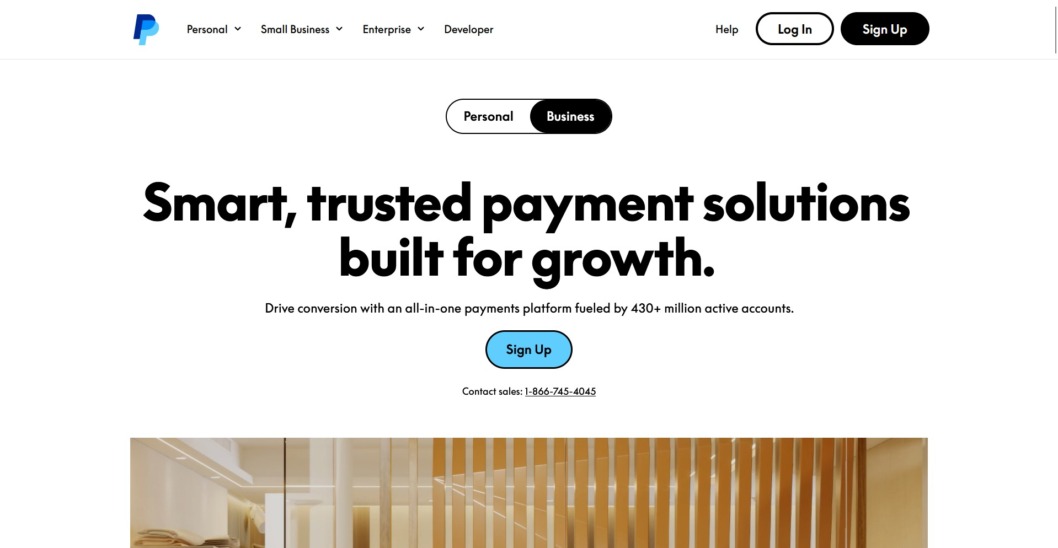
Before you can follow any of the steps in this guide, you will need to set up a PayPal Business Account. You can do that by going here and following all the prompts.
2. Log into your PayPal account and click Business Tools.
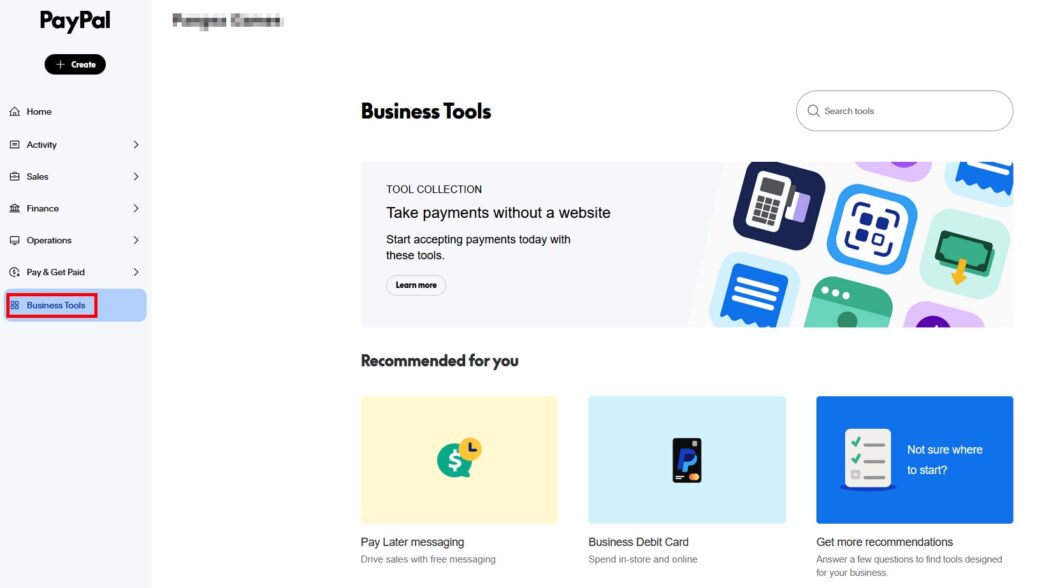
After you’ve set up your PayPal Business Account and logged in, you will see a home page like the one above. Click on Business Tools to proceed.
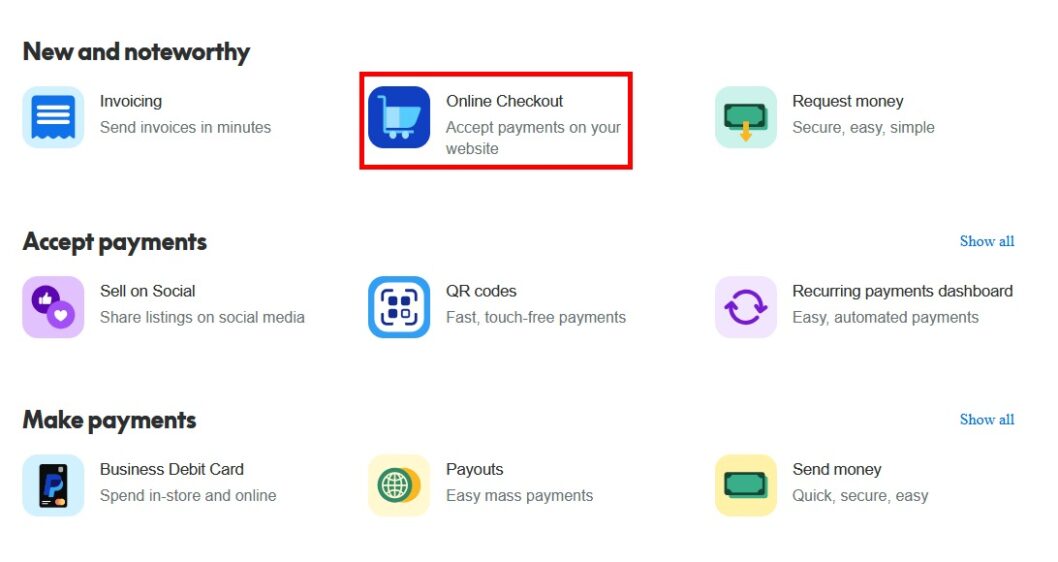
3. Scroll down and click Online Checkout.
4. Click Get Started.
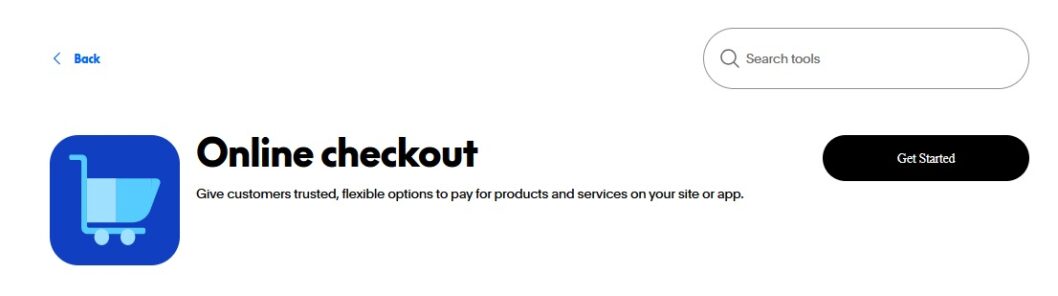
5. Click Set up Pay Links and Buttons.
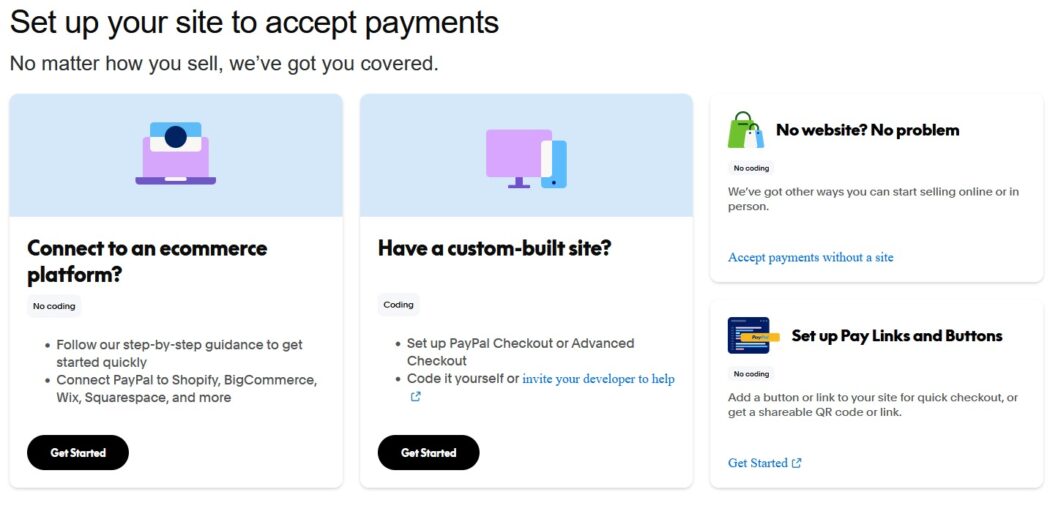
At this point, please note that you have a lot of options for integrating PayPal onto your store. When you click on Set up Pay Links and Buttons, you will have a chance to configure buttons for different products in different styles. At the end of the process, you will receive an HTML code which you will paste into your website.
If you are using a major platform like WooCommerce or Shopify, you may want to check Connect to an ecommerce platform and follow the steps provided by Shopify. If you’re custom-coding your site, Have a custom-built site is probably the better option.
If you don’t have a website and you simply need a very easy page for payments, click Accept payments without a site in the No website? No problem section.
The rest of this guide will talk about what happens when you click Set up Pay Links and Buttons.
6. Select Payment Buttons.
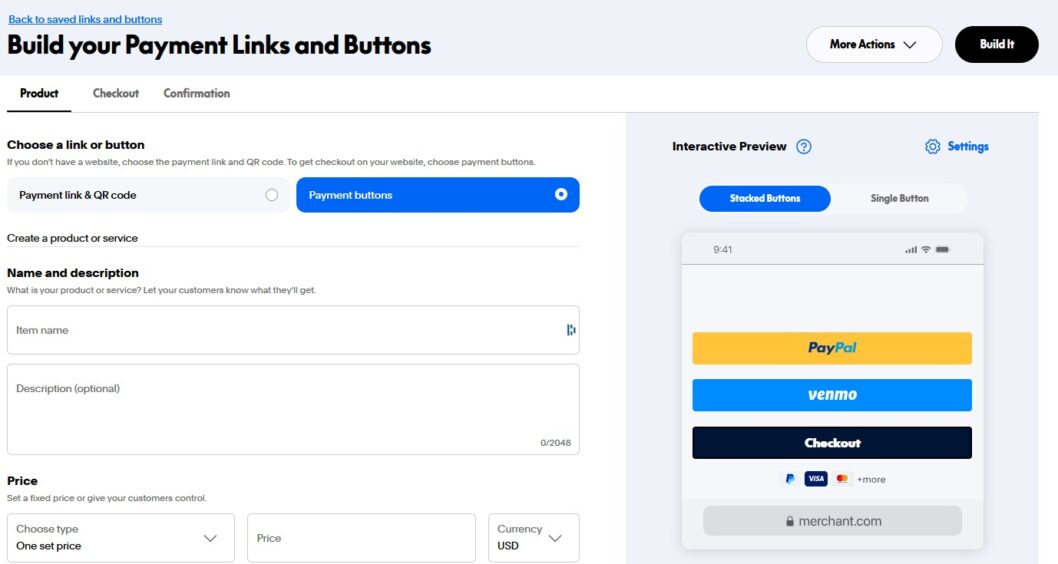
When you click Payment Buttons, you will have a chance to setup a payment button for different products or services in a style of your choosing. If you don’t have a website, you might prefer the Payment link & QR code option instead.
In the steps to follow, we will assume you click Payment Buttons.
7. Enter product details and customize buttons and thank you page.
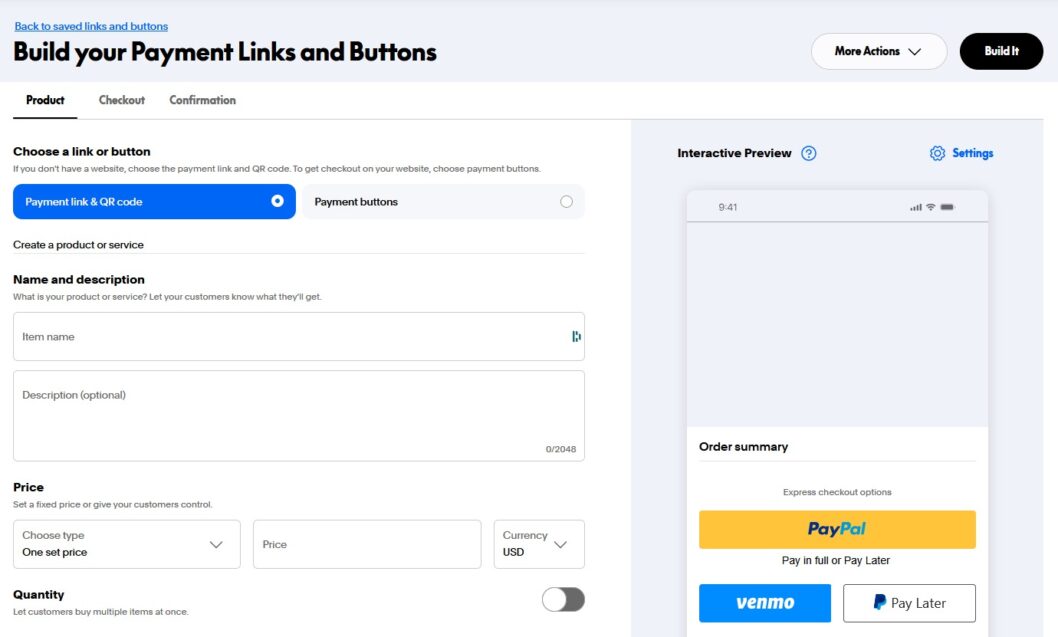
To create and customize your button, there are several fields you can fill out.
- Item Name and Description: Enter an item name and an optional item description.
- Price: Set a price, which can either be “one set price” or “customer set price” which allows customers to set their own price (appropriate for tipping or situations where partial payment is acceptable.
- Quantity: You can also optionally set Quantity to allow customers to buy multiple items at a time up to a maximum limit.
- Images: You are able to add up to five images associated with your item.
- Button Labels: You can choose optionally to label your buttons, choosing between available text options such as “PayPal”, “Buy Now”, or “Checkout”.
- Customer Note: Tell customers what details you need like “Delivery Instructions.” You can even require customers to enter a note.
- Product ID: Include your product identifiers or SKU numbers.
- Variants: Let customers know if your product or service is available in up to 3 variations like color, size, type, etc. (You are able to adjust price per variant.)
- Inventory: This lets PayPal keep track of your items and variants.
When you click the Checkout tab, there are additional fields.
- Shipping Address: Enable to collect shipping address at checkout.
- Shipping Fees: Enable to set shipping fee for this item, including free shipping.
- Taxes: Enable to set the tax rate for this item.
Finally, on the Confirmation tab, you have one option.
- Auto-return URL: Choose a URL to let customers automatically return to your site after checkout.
8. Click Build It.

Once you have configured all button options to your satisfaction, click on Build It to generate the code you will insert on your website.
9. Add the button to your website.
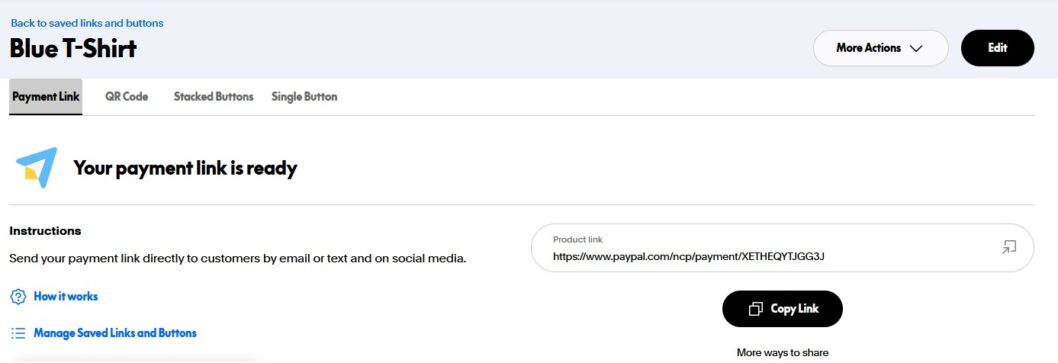
When you’re done, you will have the ability to add the button to your website in a few ways:
- Payment Link: Simply copy and paste the payment link and send by email, text, or social media.
- QR Code: Gives customers a scannable link that will take them to your payment page.
- Stacked Buttons: Copy the HTML or React snippet and paste to your website. (Shows multiple buttons including “PayPal” and “Checkout”).
- Single Button: Copy the HTML or React snippet and paste to your website. (Shows just one checkout button).
Final Thoughts
There you go! Adding a PayPal button to your website is one of the fastest ways to start selling items online.
Remember: if you need help storing and shipping items once they start selling, Fulfillrite can help. We provide order fulfillment for businesses like yours. You can request a quote to learn more.
Sending 100+ orders a month?
Once PayPal buttons turn into real volume, packing and shipping starts eating your days.
If that’s where you’re headed, reach out now to find out what it costs to have someone handle that for you.
No commitment unless you like what you see.